7 Dpo Opk Line Getting Dark Again
In this post, I describe how to install WSL 2 to serve as the backend for Docker Desktop for Windows. Previously I've ever worked with Linux in a Virtual Car using something like VMWare or Virtual Box, only I decided to give Docker Desktop a try, and was pleasantly surprised past the experience!
I'll start past describing how to install WSL two based on the install documents, and so show how to install Docker Desktop. Finally, I show the the feel of running a container and how it looks in Docker Desktop.
Installing WSL2
The Windows Subsystem for Linux (WSL) is a way to run a total Linux surround on your Windows machine, without having to install a "heavier" virtual auto, such as Virtual Box, VM Ware, or Hyper-V. WSL 2 also provides a mechanism for running Docker (with Linux containers) on your Windows machine. Nosotros'll install it as a prerequisite for Docker Desktop for Windows.
If you're running Windows Abode, WSL 2 is the just way to run Docker Desktop. On Windows Pro, you can also use Hyper-5, just that is deprecated now, and then WSL two is the manner to become in all cases.
1. Install WSL 1
We'll start by installing WSL one by enabling the WSL feature.
Open PowerShell as Administrator (I striking the Start key, type powershell and hit ctrl+shift+enter to open an elevated control prompt). Run the following, to enable WSL i
dism.exe /online /enable-feature /featurename:Microsoft-Windows-Subsystem-Linux /all /norestart You should see the following:
> dism.exe /online /enable-feature /featurename:Microsoft-Windows-Subsystem-Linux /all /norestart Deployment Epitome Servicing and Management tool Version: 10.0.19041.746 Epitome Version: 10.0.19042.804 Enabling characteristic(due south) [==========================100.0%==========================] The performance completed successfully. That enables WSL, only nosotros're going to enable the newer WSL ii version, which Docker Desktop can use to run the VM it needs to run containers.
2. Enable the Virtual Auto characteristic
WSL 2 uses a lightweight VM, so you need to enable the Virtual Machine characteristic bachelor in Windows ten version 1903 and higher. In the same, elevated control prompt, run:
dism.exe /online /enable-feature /featurename:VirtualMachinePlatform /all /norestart You lot should see something similar the following:
> dism.exe /online /enable-feature /featurename:VirtualMachinePlatform /all /norestart Deployment Image Servicing and Direction tool Version: 10.0.19041.746 Prototype Version: 10.0.19042.804 Enabling feature(s) [==========================100.0%==========================] The performance completed successfully. 3. Restart
Time to restart your machine to ensure everything is registered correctly.
4. Install the WSL two update
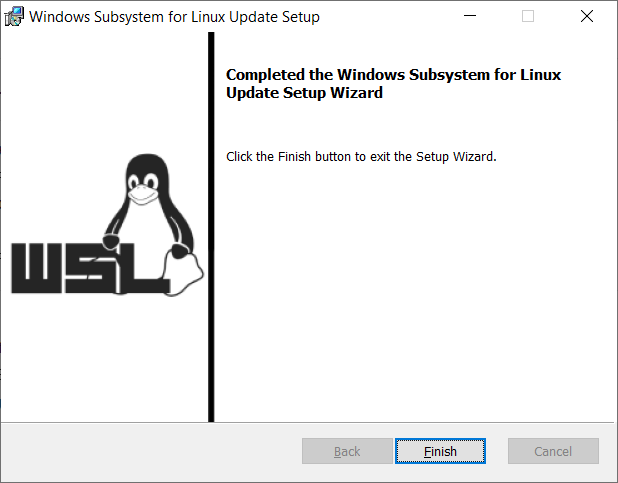
Download the WSL2 Linux kernel update parcel for x64 machines and install information technology.
Note, if you run across the following error when running the update, make certain yous've restarted your machine afer installing the WSL 1 and VM features:
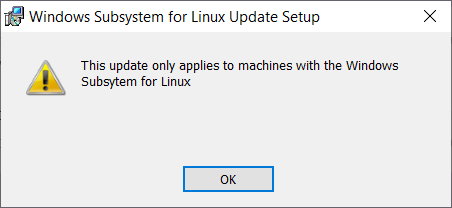
The installer runs very quickly, and hopefully you'll see a confirmation screen, something like the following:
5. Set WSL ii as your default version
This is an easy step, just run wsl --set-default-version ii in any PowerShell window:
>wsl -- fix -default-version 2 For information on key differences with WSL ii please visit https:/ /aka.ms/wsl2 6. (Optional) Install a Linux distribution
We actually don't need to install a Linux distribution to use Docker Desktop, but if you want to shell into Linux directly, yous'll demand to install one. You lot tin install a distribution directly from the Microsoft Store.
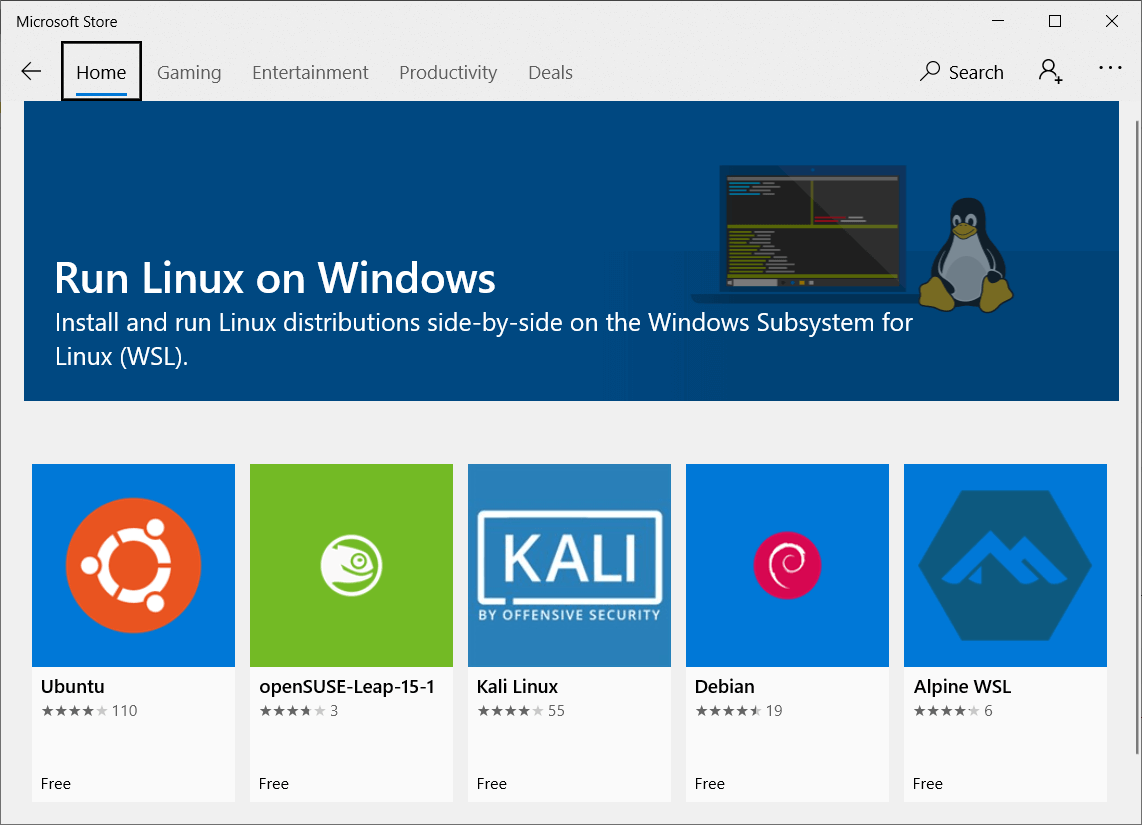
The starting time time y'all launch the distribution, the distribution volition extract and install, and you'll demand to ready a username and countersign.
7. (Optional) Add together to Windows Terminal
If you're using Windows Terminal (you should be!) you tin can configure it to open your WSL distribution. The easiest fashion to do this is to open up the settings.json file and reset it. You tin do this by deleting the contents of the file—Terminal volition automatically repopulate it with the defaults, which will include a tab for WSL.
Obviously you won't want to lose your setting customisations, and then make sure to backup the contents of the file kickoff!
You're looking for WSL in the profiles list—add that to you profile listing, and you'll be able to chop-chop open up your WSL instance from Windows Terminal!
That's the prerequisite starter for Docker Desktop covered, so now lets get to the chief grade!
Installing Docker Desktop for Windows
1. Download and Install
Head to the Docker Desktop website and download the Installer for Windows.. This is a hefty ~500MB, but once it's finished, run the installer.
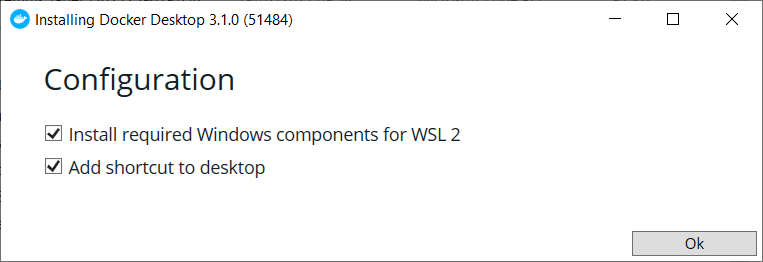
On the first screen, ensure yous keep "Install required components for WSL 2" checked:
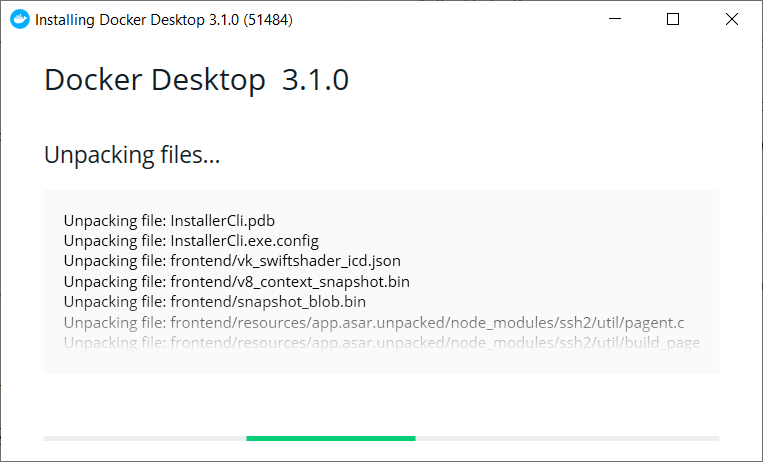
After clicking OK, the installer will unpack a whole load of files:
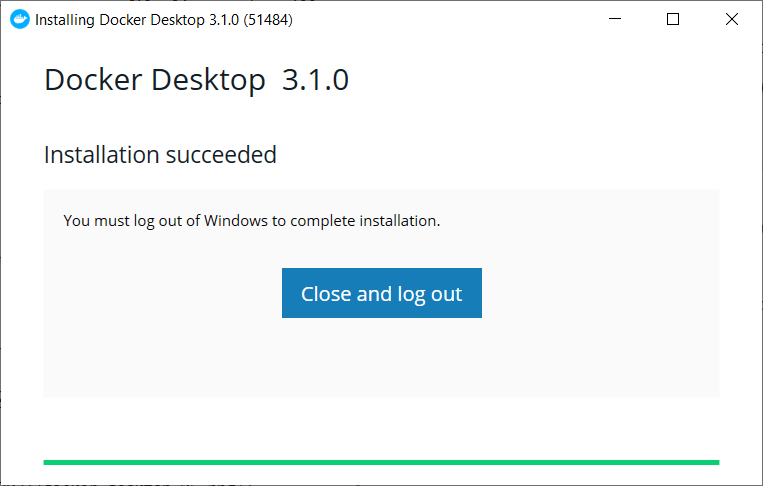
Before finally prompting you lot to log out of your Windows account to consummate the installation:
two. Logout and dorsum in
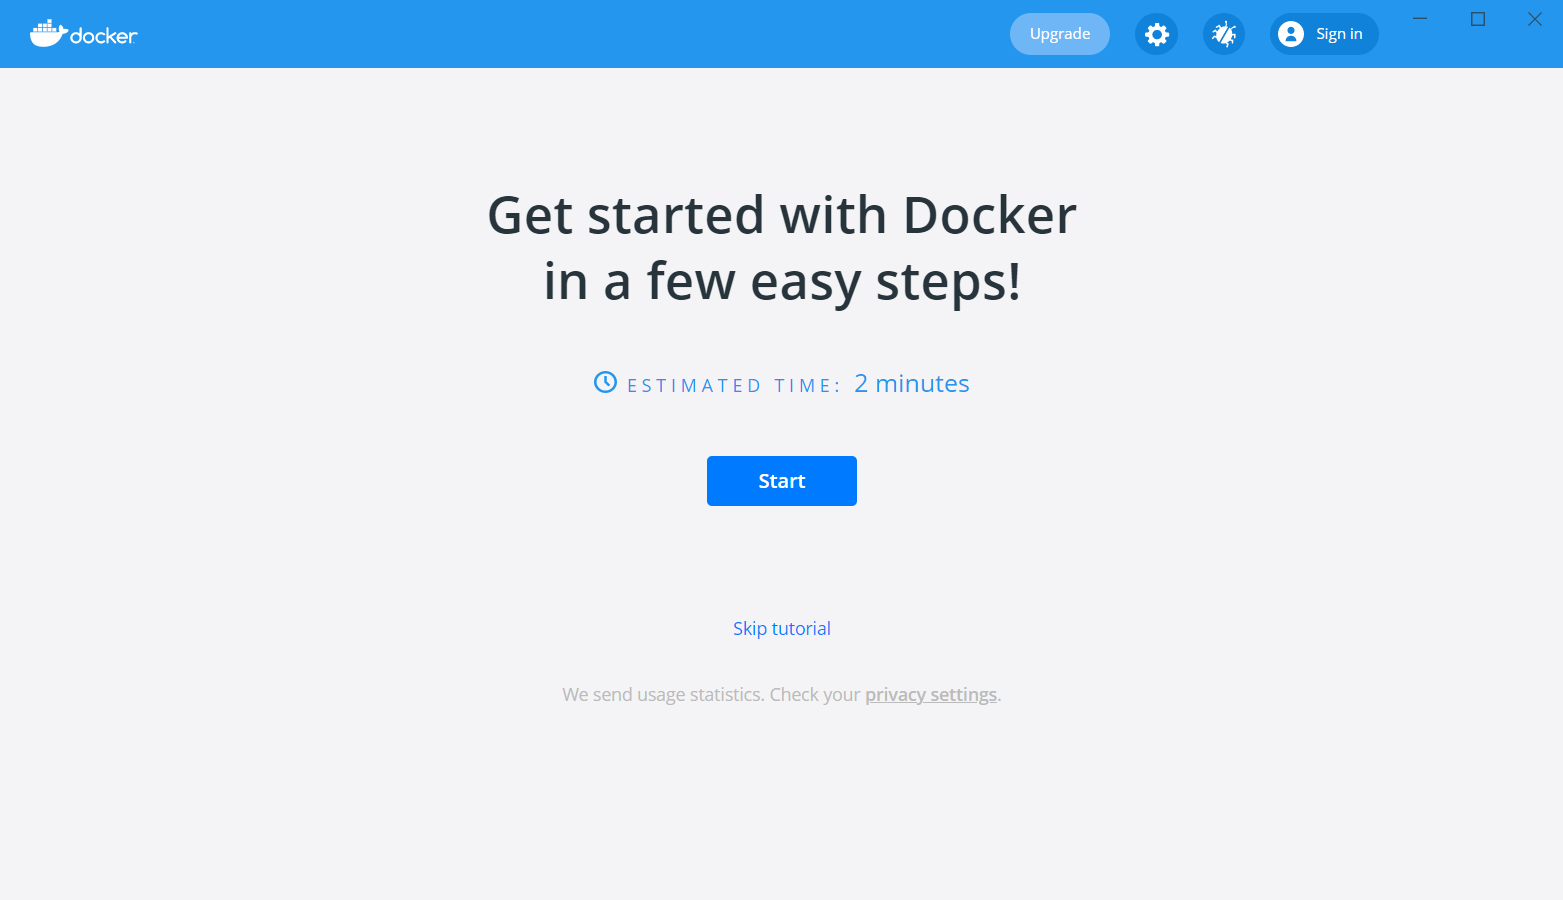
The Docker Desktop installer volition automatically log yous out of your Windows business relationship on completion. When you sign back in, yous'll get a notification that Docker is starting the Linux Containers WSL two backend. Eventually, the main Docker Desktop window will pop up, and offering yous a tutorial
3. Give it a endeavour!
With Docker Desktop installed, y'all now take the docker command bachelor in your control prompt:
> docker Usage: docker [OPTIONS] COMMAND A self-sufficient runtime for containers Options: . . . Now it'due south installed, permit's take it for a spin!
Trying out Docker Desktop for Windows
For simplicity, we'll run ane of the .NET five.0 sample apps available on DockerHub:
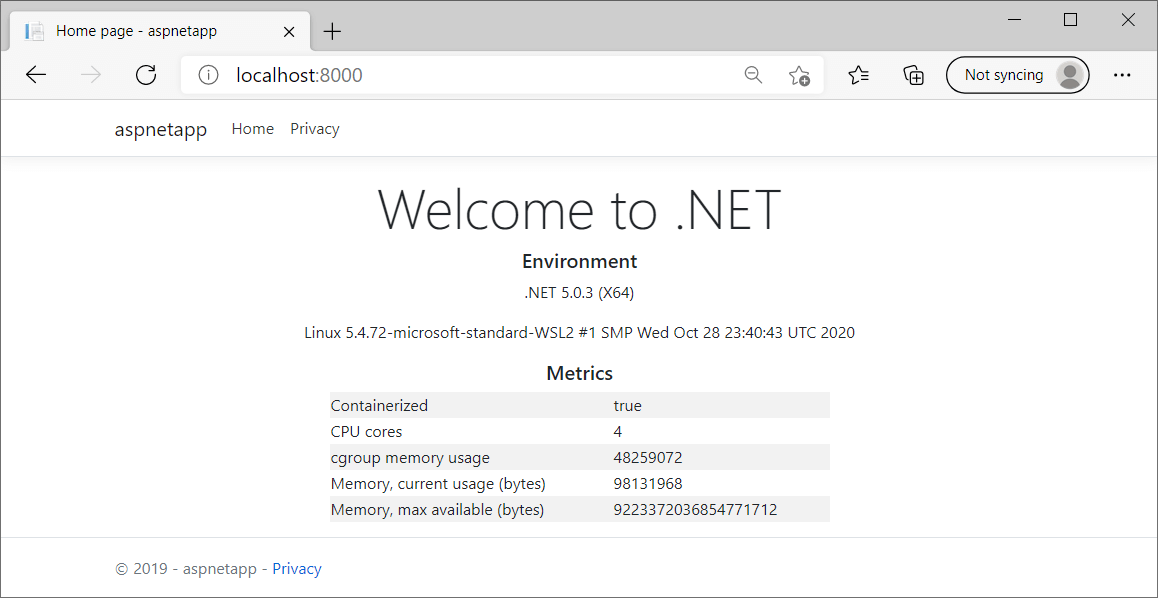
docker run -it -- rm ` -p 8000:fourscore ` --proper name my-sample ` mcr.microsoft.com/dotnet/samples:aspnetapp This is a simple Razor Pages app, packaged in a Docker image, and ready to run. Yous tin can see the Dockerfile for the app here. When you lot run the in a higher place control Docker volition pull the image, run it and first listening:
Unable to find image 'mcr.microsoft.com/dotnet/samples:aspnetapp' locally aspnetapp: Pulling from dotnet/samples 45b42c59be33: Extracting [=========================> ] xiii.57MB/27.1MB 752dcc4c3a04: Download complete 5ccb476d6b8b: Download consummate 513626bd05cb: Downloading [======================> ] 472.8kB/1. . . . Status: Downloaded newer epitome for mcr.microsoft.com/dotnet/samples:aspnetapp info: Microsoft.Hosting.Lifetime[0] Now listening on: http:/ / [::]:lxxx If y'all navigate to http://localhost:8000/, you'll encounter the app running there—a Linux container, running on Windows 🤯
The interesting thing, which I didn't realise until I installed it, is that Docker Desktop for Windows installs a very nice UI for managing your containers!
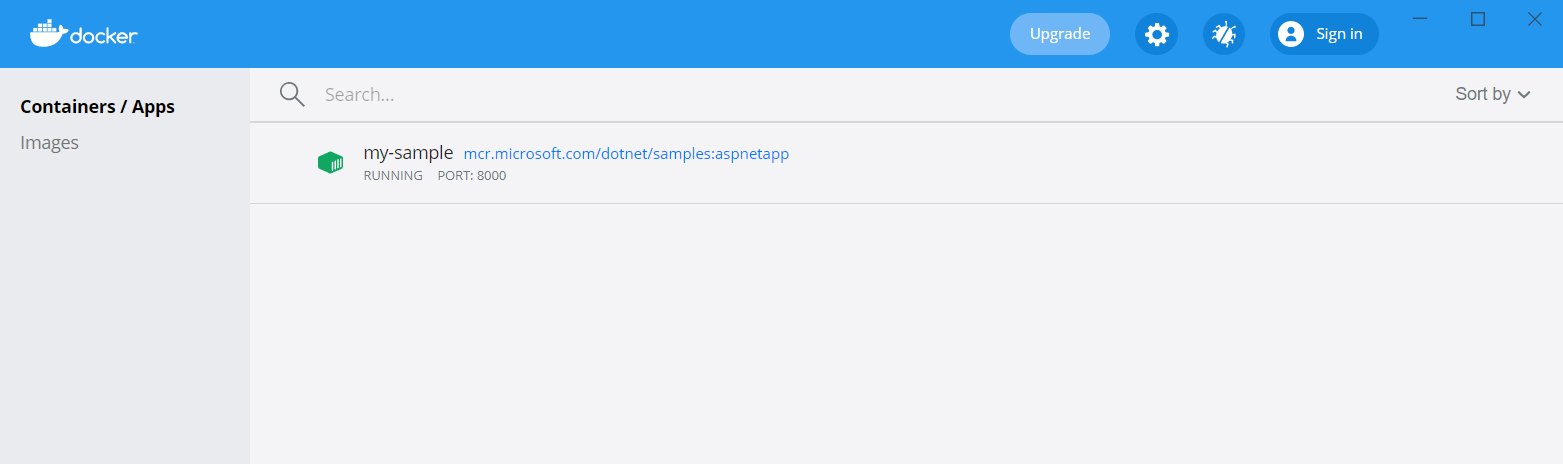
If you lot click on the my-sample container row, you'll see the logs for the container:

Yous tin can also inspect the environment variables, view stats about the container, or click CLI to open a shell inside (exec into) the container! You can exercise all these things from the control line obviously, and if you lot're automating things, that's definitely the right option. For casual or local evolution, personally I discover you can't shell a nice GUI!
Summary
In this postal service I described how to Install WSL, upgrade it to WSL 2, and how to install Docker Desktop. This requires a restart of Windows and a logout which is a bit annoying, but otherwise it went very smoothly. The Docker Desktop UI also looks very handy, in particular the power to exec into a container—I'grand always getting the CLI command incorrect, so that volition be very unseful!
Source: https://andrewlock.net/installing-docker-desktop-for-windows/
Postar um comentário for "7 Dpo Opk Line Getting Dark Again"